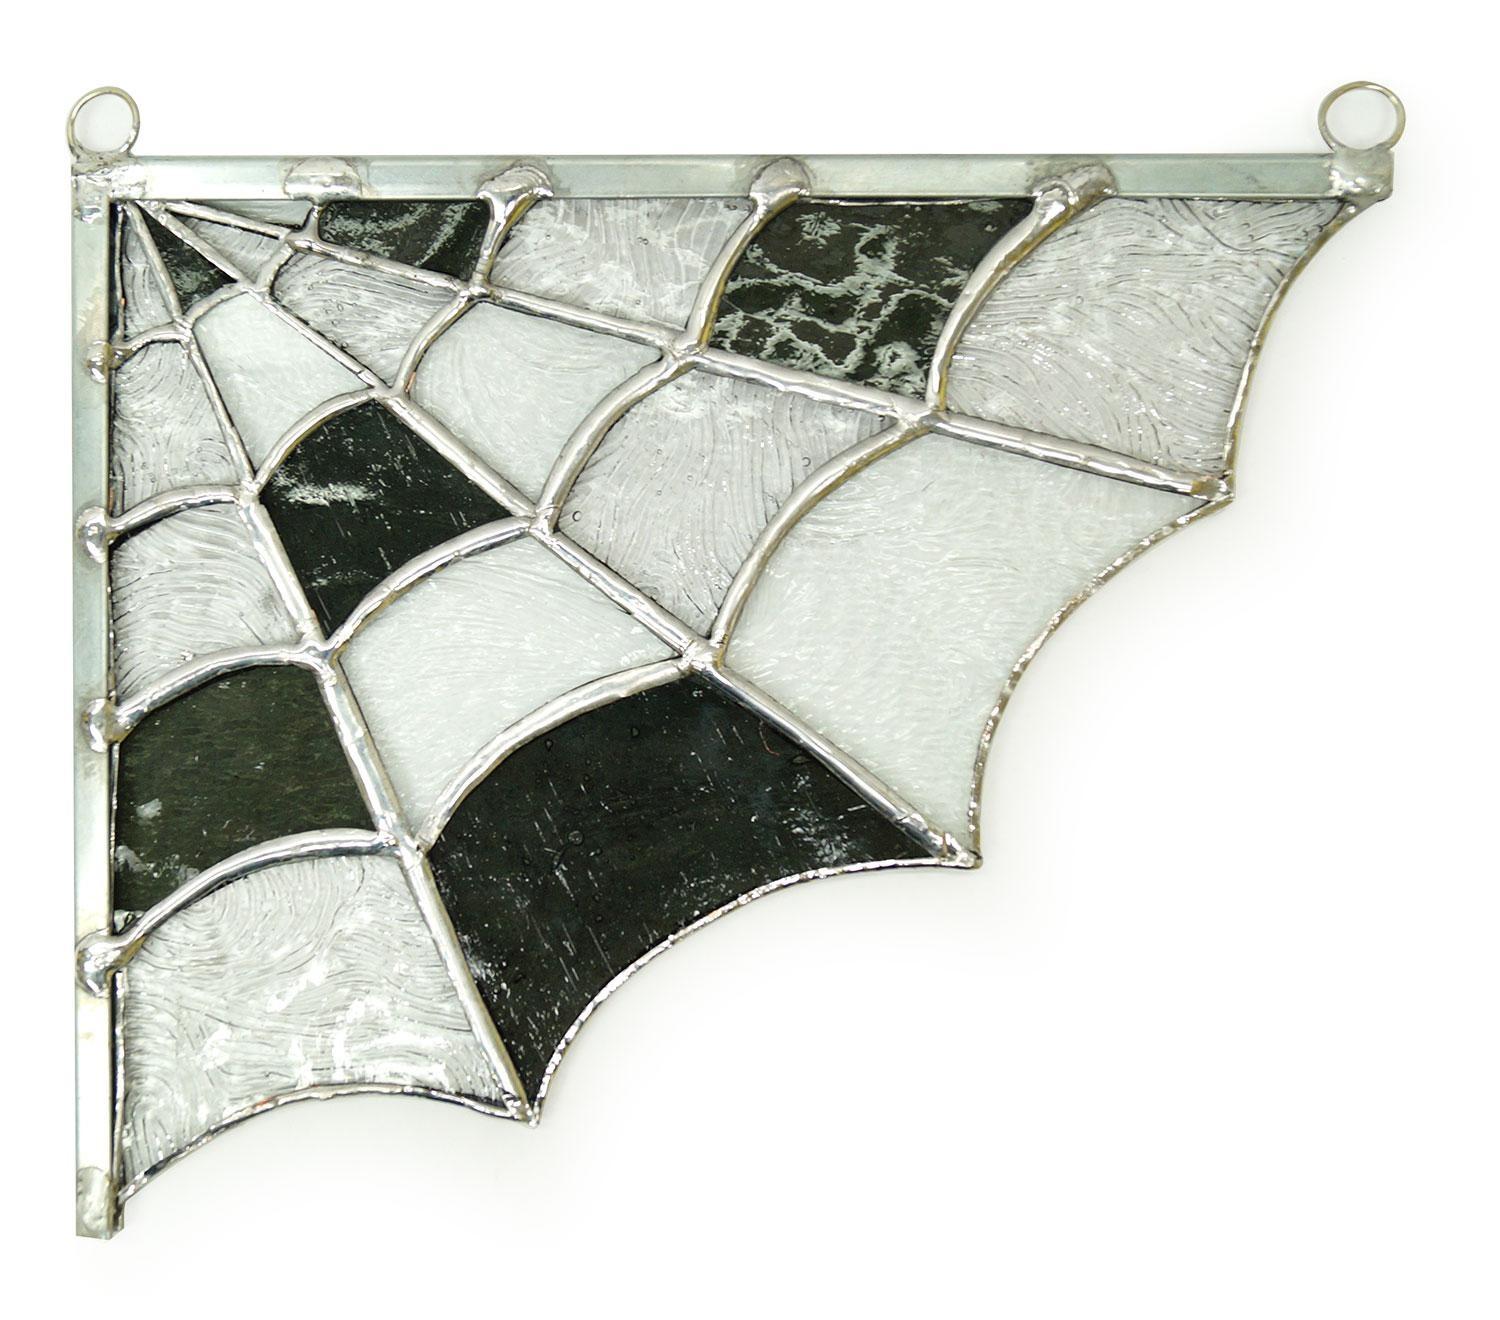
Lynn Urban, LuLu Creations

Stained Glass Spider Web

Materials
- Basic stained-glass tools and supplies
- Clear textured glass
- Transparent gray glass
- Zinc came
- Copper wire or jump rings
- FREE Pattern
Instructions
- Print and resize pattern as desired.
- Trace the pattern on to glass.
Note: If you are using textured glass, trace the pattern and score on the smooth side of the glass. - Score glass following pattern lines.
- Break glass along scores using running pliers and breaker pliers.
- Fit pieces to pattern. Adjust as needed using a scythe stone or glass grinder.
- Lay out and clean all glass pieces.
- Use Layout Blocks and Push Pins to hold pieces in position and keep your project square.
- Wrap foil around each piece and burnish.
Note: Be sure not to start and stop foil on the outside edge of border pieces. - Solder all internal pattern lines together, leaving the top and side unsoldered.
- Cut zinc came to fit the top and side. Position came and solder to each pattern line that touches the edge.
- Attach jump rings to the top edge at the corners to easily hang the panel in your window.
Optional Embellishment:
Create a stained glass or fused glass spider to embellish your panel. Use wire to form the spider legs and solder the spider to the panel, or hang the spider from the bottom edge of the panel using sun catcher hanging line or box chain.